
Seventy percent of a luxury kitchen's appeal lies in the benchtop, while thirty percent lies in the interface where it meets vertical surfaces—and it is precisely this thirty percent that determines whether a kitchen feels "refined" or "compromised."
Porcelain slabs and timber joinery represent two materials with vastly different temperaments in a kitchen: one is hard, cold, and virtually unyielding; the other is warm, malleable, "breathing," and subject to moisture movement. Their intersection is both an aesthetic focal point and a test of craftsmanship: caulking can mildew, hard butt joints can crack, and a 2 mm misalignment is instantly visible to the naked eye. The industry has four mature approaches to execute this transition. Which one to select should be determined during the design phase—it is an unavoidable detail on detailed shop drawings.

Execution: The porcelain slab or quartz benchtop rests directly on top of the vertical timber joinery (wall paneling or exposed end panels). The outer profile or end edge of the benchtop naturally covers the junction seam, hiding the joint under the vertical overhang of the slab.
Advantages: High tolerance during installation; low sensitivity to wall levelness; the seam is concealed from direct sight and water drops; lowest cost, supported by almost every factory.
Disadvantages: A visible "layered profile" is created at the junction—exposing the full thickness of the benchtop slab, which translates to visual noise in minimalist spaces. Additionally, a splashback trim is still required against the wall to avoid direct caulking.
Best Suited For: Budget-sensitive projects or sites with irregular walls; the primary choice for volume residential developments and rental fit-outs.
Pitfall Avoidance: Under this approach, exposed timber end panels must be installed before the benchtop slab. If the order is reversed, the seam will be completely exposed. This installation sequence must be explicitly locked into project scheduling.
Execution: The benchtop turns upward along the wall to form a 30–60 mm high splashback lip, covering the gap between the wall and benchtop. This comes in two variants: integrated coved splashbacks (achievable via thermal bending in quartz, but not in porcelain slabs, which require 90° mitered joints) and retrofitted post-installed splashback strips.
Advantages: Offers ultimate waterproofing; water splashes around cooktops and sink zones never touch the underlying seam; coved splashbacks eliminate hygienic dead zones.
Disadvantages: Features visible "functional lines," which can feel overly busy in minimalist interiors. Porcelain slabs can only be joined at 90° mitered angles, requiring color-matched epoxy grouting at the joint.
Best Suited For: Heavy cooking households and high-use kitchens—the top-ranked approach for practical durability.
Pitfall Avoidance: The seam between a porcelain splashback strip and benchtop must be sealed using color-matched epoxy grout rather than standard silicone sealant—silicone is guaranteed to yellow and mildew within two years, representing one of the most common failure points across real-world installations.

Execution: The splashback upstand is completely eliminated. The benchtop slab sits flush against the wall or vertical panel, with a fine application of anti-mold sealant at the junction. An advanced approach involves wall-leveling prior to installation, achieving a seamless flush joint between the benchtop and vertical panels with a sealant gap refined to 1–2 mm.
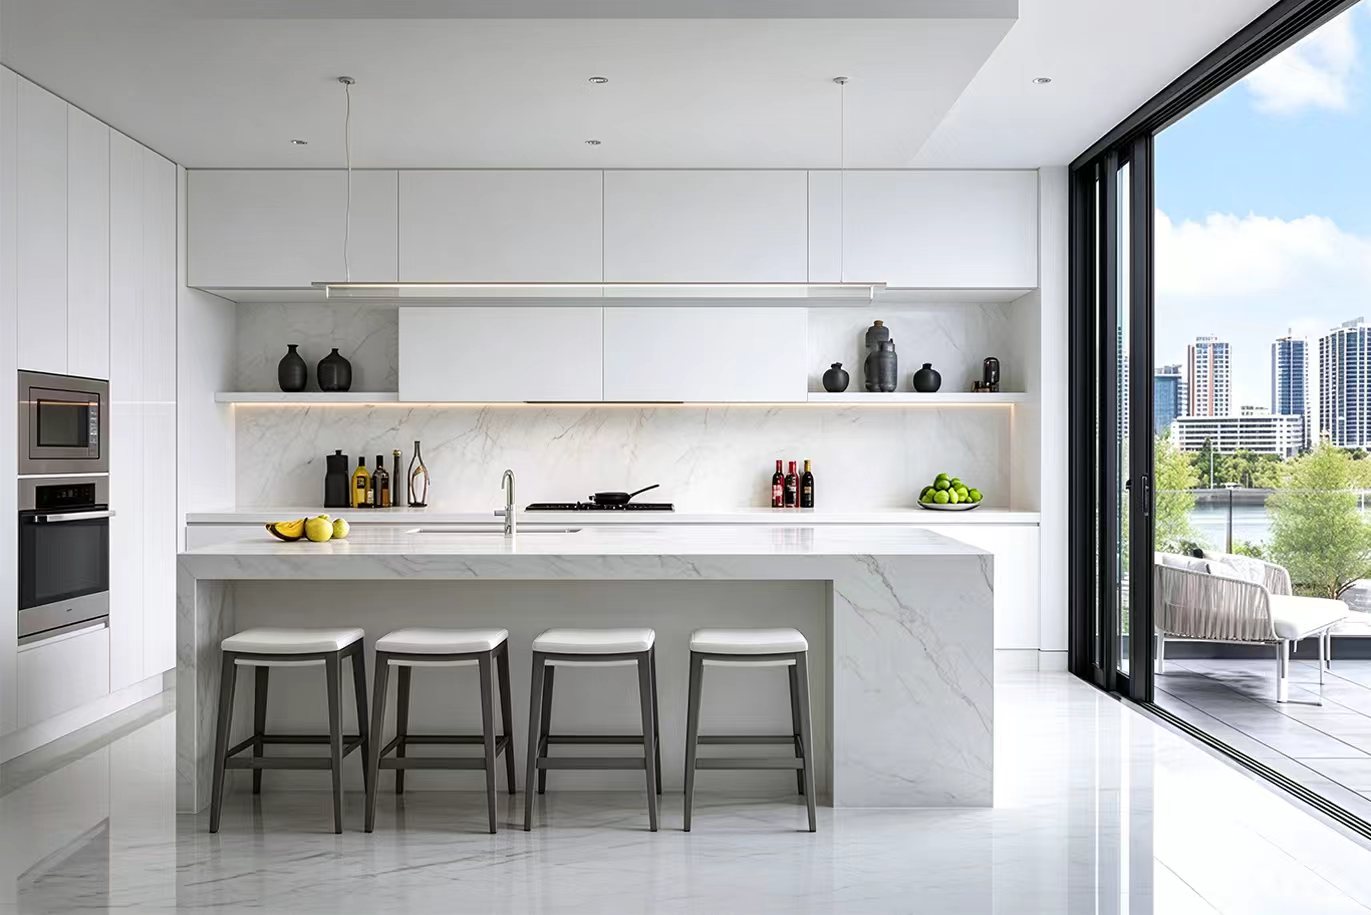
Advantages: Visually creates a "disappearing benchtop" effect, achieving the ultimate minimalist outcome. The elimination of horizontal upstand lines leaves the kitchen clean and uncluttered.
Disadvantages: Imposes exceptionally high demands on wall plumbness—if wall verticality deviates by more than 3 mm, a tapered wedge gap (wider at top/bottom) will form. It demands seamless coordination between the factory and site installers.
Best Suited For: Minimalist interiors, secondary prep kitchens, island benches, and high-end custom cabinetry projects.
Two Key Pitfalls to Avoid:
1. Finalize benchtop details before completing wall finishes: The flush joint approach requires strict verticality control during wall tiling or rendering stages—reversing this order makes corrective action impossible.
2. Use anti-mold sealant instead of standard silicone: Junction seams are prime areas for kitchen mold growth; sealant specifications are not an area to cut costs.
Execution: Instead of one material resting over another, the two materials interlock. The porcelain slab embeds into a pre-milled groove in the timber joinery (timber edging capping the porcelain edge), or a 5–8 mm deliberate shadow gap (recessed reveal) is left between the benchtop and vertical panels. Metal trims can be inserted into the gap or left open to form an architectural shadow line.
Advantages: Transforms a mere "junction seam" into an architectural design detail. The shadow reveal adds depth and contrast—a signature detail of Italian minimalism and modern luxury design. The recessed method completely solves edge-chipping and visible caulking issues.
Disadvantages: Highest level of process complexity: timber milling precision, porcelain machining tolerances, and installation sequencing must be coordinated flawlessly. This is the only interface technique that requires complete verification during factory pre-assembly; it carries the highest cost.
Best Suited For: Architectural joinery kitchens, island benches, show kitchens, as well as sideboards and vanity units where porcelain slabs meet natural timber veneers.
Pitfall Avoidance: The shadow reveal width must remain uniform across the entire residence (standardized at 5 mm or 8 mm). Confirm the gap's functionality in advance—decorative shadow lines must feature dust-proof detailing, as dust-collecting "design details" turn into maintenance issues after a year of use.
In Short: Select Overlapping for budget sensitivity, Upstand Splashback for practical durability, Flush Butt Joint for minimalist aesthetics, and Recessed Shadow-Line for luxury architectural joinery.
Furthermore, a single kitchen can combine methods across different zones: apply upstand splashbacks around wet sink and cooktop zones for function, while utilizing flush joints or shadow-line reveals along prep zones and island benches for aesthetics—the standard practice across most of our high-end projects.
Re-measurement Must Occur After Wall Tiling/Finishes: Final benchtop site re-measurements must take place only after wall and flooring finishes are complete—ordering off raw building framing dimensions is the root cause of benchtop fitting failures.
Cutouts Must Be Executed at the Factory, Not On-Site: Sink cutouts, cooktop cutouts, and tap holes must all be pre-machined using CNC waterjets at the factory. Executing cutouts on-site provides no guarantee against porcelain slab edge-chipping.
Sequencing Must Be Locked into the Installation Plan: The installation sequence for flush butt joints and recessed shadow lines is: Wall Finishes Completed → Site Re → measurement → Benchtop Delivery → Benchtop Installation → Timber Joinery End Panel Installation. The overlapping method follows the exact opposite sequence. If the sequence is wrong, even the finest craftsmanship cannot salvage the outcome.
The junction where porcelain slabs meet timber joinery spans only a few millimeters in width, yet it encapsulates the complete craftsmanship standard of a kitchen: the order of overlapping, the choice of sealant, the width of reveals, and the sequence of installation—every decision is finalized on detailed shop drawings long before installation day, which simply executes according to plan.
This is one of the key reasons BAODAO Home insists on 1:1 factory pre-assembly: the transition between benchtops and vertical paneling has already been fully assembled and verified at our Foshan facility. Millimeter-level details on shop drawings should never be tested through trial and error inside your kitchen on-site.
For custom kitchen and island bench projects, feel free to contact BAODAO Home official channels or schedule a visit to inspect real-scale mockups at our Foshan showroom.

Block Quote